Press Play on Video Marketing for Your Winery
Our latest webinar was all about Video Marketing, and we’ve turned it into a blog for all you avid readers. This is our Video Team’s step-by-step guide on making a video come to life, then how to use it to sell your wine. You can watch our recorded presentation on our YouTube channel

Why is video relevant to the wine industry?
It works. Recent consumer studies show that video outperforms all other forms of marketing, except for sharing a warm smile, a great story, and a glass of wine in your tasting room. And running a wine business during a Pandemic has taught us that there are, in fact, willing customers out there ready to buy wine. The DTC stats on that are clear. But translating the winery 3-dimensional / 5-sensory experience into the 2-dimensional digital realm is not easy to sustain without a variety of marketing tools, techniques and, of course, strategy. A strategy including video marketing can be quite compelling.
Video marketing is the highest form of branding, because it brings your brand to life.

Video isn’t hard. It can be as simple as a 5-second clip of someone pouring wine or iPhone footage of your crew picking grapes. But there’s something about video that feels authentic and satisfies our need to trust brands.
Content builds relationships, and relevant video content is a great way to engage an audience and build trust.
Like all forms of marketing and advertising, video marketing is successful because of our psychology. Video will do wonders for your winery’s brand by adding human touch to a digital world and acting as a vehicle for you to connect with people. If our psychological and emotional science isn’t really doing it for you, then let’s look at some of the hard stuff — numbers.
By 2022, online videos will make up more than 82% of all consumer internet traffic — 15 times higher than it was in 2017. (Cisco)
Viewers retain 95% of a message when they watch it in a video, compared to 10% when reading it in text. (Insivia)
Social video gets shared 1200% more than text and images combined. (Wordstream)
Mobile video ad spend is expected to be around 72% of the total digital ad spend this year. (eMarketer)
A website is 53 times more likely to reach the front page of Google if it includes video. (Insivia)
Adding video to your emails can increase click rates by 300%. (HubSpot)
64% of consumers will make a purchase after watching branded videos on social platforms.
So, where to begin?

Step 1: Get Inspired
The first step is to get inspired. We like to get start by considering what kind of video we will produce, what platform we will be posting on, and looking towards other industries for ideas.
Here’s what we call “The Video Universe”. Your top 3 platforms are YouTube, Instagram, and Facebook — YouTube for longer videos and connecting with a younger generation, Instagram for shorter videos that are well branded, and Facebook for connecting with that older demographic.

Then we storyboard a video, and we look to other companies' feeds for inspiration. This definitely is not limited to just the wine industry. Here are a few companies that inspire us with their video content.

Yeti doesn’t sell a product, they sell a lifestyle.
Scribe Winery has perfected the 5 second video. It’s simple but stunning and can be used for just about any marketing.

Step 2: Pre-Production
Pre production is arguably one of the most important components of video production, because it’s when you decide what you are going to shoot, how you are going to shoot it, and what your goal is for the shoot. Remember that the goal is to tell a story or be a form of edutainment, not just be a mish-mash of videos thrown together for the sole purpose of having video. Video should be strategic, engaging and ideally thought-provoking for consumers and loyal customers.
Style of video
We start by determining the style of video. While it's good to go into a video shoot having a general idea of what you would like to capture, it is very important to be fluid and organic. If one style of shooting isn't working for you, go ahead and try something else out. There are absolutely no rules to creative production. We generally follow 3 styles - interview, beauty shot, and evergreen.
Interview
Scripted or unscripted
Can be in the form of a conversational story or an informative interview
Beauty
Close, buttery, colorful, soft focus shots that showcase the personal aspects of wine making, picking, or your product. These are very detail oriented and the human elements added in give them good movement and make them really captivating.
Evergreen
Evergreen means always useful - something you can use year round, non seasonal.
These can be like beauty shots where they are tight focus and up close, but they can also be wider focus and showcasing your property, pouring, or even interesting happenings with your team.
Storyboarding and Scripting
This comes after the inspiration phases. The general outline of a storyboard is what shots you would like to get, a mood board of the style of the video, timeline, and a schedule if needed to coordinate. A storyboard can take a few different paths and can be as simple as a list of shots, or as complex as shots, time frame, inspiration, color palette, staging, etc. We recommend doing it when your video is going to be long with various people in different locations. If you’re shooting quick footage of a winemaker pouring or your tasting room manager saying “Welcome to ______ Winery”, it’s probably not necessary.

Storyboard however you want. Don’t worry about perfection or professionalism.
Scripting mostly applies to longer, interview style videos. You still want to be organic and sound conversational, but even a rough a script is very useful for whoever your speaker is. We like to include outfit choice on the script as well to best highlight the subject. We generally opt for neutral colors and minimal patterns. If you have a very rigid idea of what you want your video to be, like announcing events or wine club exclusives, use a script. But even then, improv is encourage. Don’t script when your video is warm and casual, like your winemaker walking through the vineyard chatting about the terroir or your tasting room team talking about their favorite wines.
PRO TIP: If you begin speaking and mess up, keep the camera rolling and just pick it back up. The script doesn't need to be taken too seriously and you’re not on live television. Plus, any bloopers can be cut out and even used for fun content some other time.

Step 3: Production
This may be surprising, but basic equipment you need to take quality videos is just your phone, a tripod, and a lavalier — that is correct, no camera necessary. Pretty much everyone has a smartphone with a great lens, and tripods and lavaliers are actually very affordable on Amazon. More advanced equipment includes a camera, a drone, and a stabilizer. You absolutely do not need these things, but if you happen to have a camera or access to one, you may enjoy using its features or it may give you even better quality than a phone.
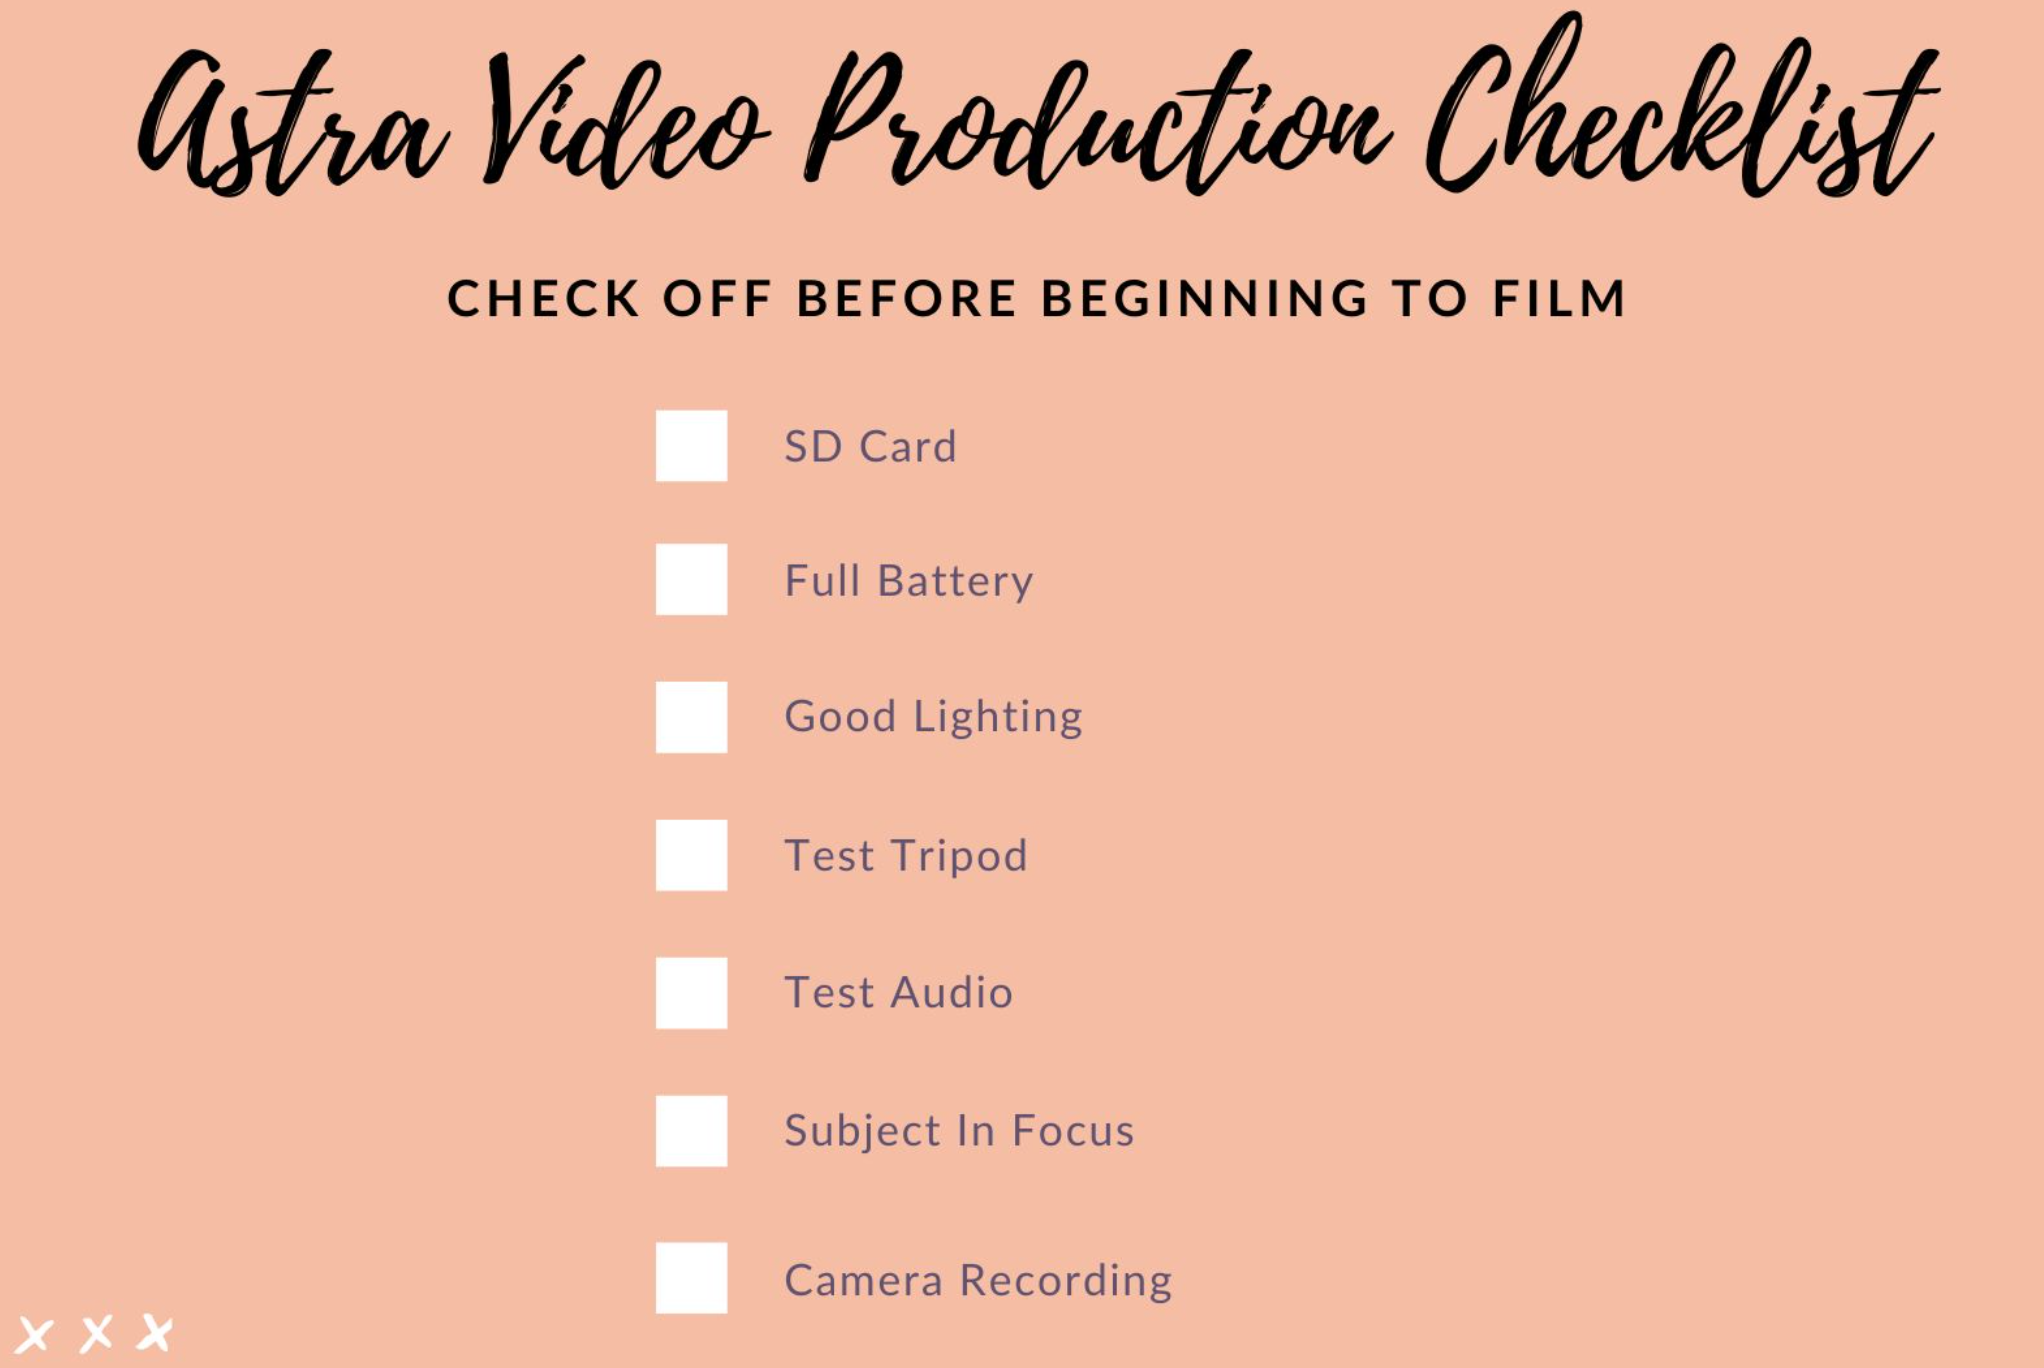
One of the most important parts of the video process is being prepared. There is nothing worse than taking great footage, then realizing the memory card wasn’t in your camera. So to avoid all of this drama, we follow a pretty simple equipment and production checklist.
Audio and Surroundings
The most important tip I can give you is to triple-check that your audio is working. Before attempting to begin the interview/video have the subject say a few words and then play that audio back so you can hear it. Make sure it all sounds good and crisp before continuing on. It is not worth having to shoot a video again!
But what kind of mic should you use? A lavalier mic is a standard mic perfect for shooting video on your phone, it plugs right into your phone and clips onto your subject’s shirt collar, at the top of a tie, in between the buttons on a button-down shirt — just remember to hide the cord in the clothing, or even run it underneath your subject’s shirt.

Forget your mic? Last-minute interview/video potential come up? No problem, try this:
Always take off your phone case, a phone case can get in the way of the microphone and cause muffled audio.
Put a credit card or ID card in front of your phone and hold it in place with a rubber band or your hand while you shoot. This will block the phone mic from picking up noise from the front of the phone (where you are sitting) and have the noise be picked up from the side the interviewee is sitting.

So you have the microphone down, but now you need to set up your audio. Here are some rules to follow…
Rooms without carpet/lots of furniture will create echos - that’s a no-no! When it comes to wineries, a lot of the time we see interviews done in warehouses, cellars, etc. But that can cause a lot of noise pollution. So try to pick a space with rugs and furniture to help muffle any cavernous noises.Keep this in mind for the outdoors, as well. If you’re in the vineyard or outside the winery, you may have a busy road nearby or a loud neighbor. Mics will pick all of that noise up - If you can hear it, so can the mic!! It’s not worth the risk!!
We recommend having the sunlight pointing at you instead of behind you. This way your lighting will look much more professional, bright, and crisp, and you won’t disappear.
Another important thing when setting up your video is making sure your background is clean, neat, and not distracting. When people are watching your virtual tasting, you want them focused and engaged with you — not your cat or dirty laundry in the background. Can’t forget the great Game of Thrones Starbucks Cameo of 2019.


Angles and Lighting
Let’s talk about angles.
We did an interview with our CEO Ron recently. The angle on the right is the correct way to set up an interview. We follow the rules of thirds, which helps draw the viewer's eye into the image and places more emphasis on the subject. It will also make sure the video looks less crowded and more professional. If you want to be even more professional, have your subject look at the interviewer and not directly into the camera! You can see in the other angle it looks much more awkward and close up! We want to make our subjects look their best!

Finally, if you’re outside, pay attention to the sun! If you’re focusing on one subject, like the on the right, indirect sunlight is best. It’s less harsh, easy on the eyes, and allows the viewer to really focus on the subject being filmed. If you’re focusing on a wider landscape or multiple subjects, direct sunlight can make for a captivating and bright video where every detail within the shot is seen by the viewer.

Step 4: Post Production
Now that you’ve filmed everything, it’s time to edit your video. In a perfect world, no editing would have to be done and you’d get the perfect shot in one take. Unfortunately, we know that’s never the case, and editing becomes a necessary part of creating professional videos. Before we dive into some best practices associated with editing, let’s talk about some of the programs out there you can use.
Programs
If you are brand new to video editing, iMovie for Mac and Movie Maker for Windows are two easy-to-navigate programs. If you are more familiar with video editing, Final Cut Pro and Adobe programs like Premiere Pro and After Effects are more robust platforms that give you a wide range of video editing capabilities. Many people have used Canva to build quick social media posts, but you can also use Canva to build videos and Instagram stories, for beginners. Again, for more experienced editors, Envato Market is a great tool to use. They have plug & play video templates that are compatible with Adobe Premiere Pro, Adobe After Effects, and Final Cut Pro. In the upcoming photos, we will be taking you through some basic editing to get you started on your video. The focus of our video is on harvest 2020 and we’ve chosen to use iMovie. If you ever get stuck, Google is your best friend!
Putting your Video Together
The first thing you want to do is choose the footage you want to use to bring your storyboard to life. We chose 4 clips to include in our final harvest video.
After you’ve selected your footage, drag them from your library into your video segment.
You’ll notice that most of the time, you don’t want to use the entire clip for your video. The great news is that you can trim the footage to only use the portion that you want, by dragging the ends in.
Then add music!
When adding music, make sure that you are using music that doesn’t have a copyright, also known as royalty free music. There are a few websites out there that specialize in that type of music - we like Free Music Archive.org.
Now that you’ve added your music, you want to make sure that the timing of the music matches with your video cuts. There’s nothing more distracting than listening to a beat drop and the video cutting a second after.
Final Touches
The last step for any video you create is adding your brand. It is important to mention your brand in the first few seconds, either through a voice over or by displaying your brand’s logo on the screen. Facebook discovered in a recent survey that consumers were 23% more likely to remember which brand made a video if the brand was featured in the first 3 seconds.
In this instance, we chose to display the brand in the first three seconds and add one of the pre-set animated titles from iMovie.
Take a look at the final product!


Step 5: the Final Product
So now let’s get to the actual marketing of your videos. Videos can ultimately assist in increasing brand awareness, driving tasting room traffic, and referring consumers to your website, by building authentic trust, and ultimately drive revenue. We’ll focus on the best practices around uploading your videos to Instagram, Facebook, and YouTube, as well as how to use videos in your email marketing.
Instagram is a visual platform that short videos work great on! There are three main ways to use videos on Instagram - Instagram Story, IGTV, and as a post on your Instagram feed. Instagram stories are built to be 15 seconds or less, and Instagram will actually split your videos if they are longer than that. They last 24 hours before they disappear, but you can add them as a highlight to keep them available on your profile. IGTV, on the other hand, is Instagram’s long-form video format. The aspect recommendations for both of these uses is vertical with minimum pixels of 720. When posting to Instagram, the platform will only allow videos that are no longer than 60 seconds. Instagram video posts can range from horizontal aspects to vertical aspects, but the recommended aspect is 1:1 or square.
Uploading videos to Facebook and Instagram as ads and as organic posts is another great way to attract the attention of consumers. The most important thing to think about when uploading videos to Facebook is to think MOBILE FIRST. As marketers, it’s easy to forget that most consumers use Facebook on their phones when we are using our desktops at work. 15 second videos or less are recommended on the Facebook platform, with your brand appearing in the first three seconds. I know it seems counterintuitive, but upload your video directly to Facebook rather than sharing your YouTube link (which we will get to in a minute). The ad itself will not have the same impact if you use a link. When uploading your video to any social media platform, captions are highly recommended. Facebook automatically mutes the sound for videos and many people are not in a place where they can actually turn the sound on. Adding captions to your videos ensures that your video is easily understood by anyone, anywhere, and Facebook offers a free tool to assist with that. Last, but certainly not least, you want to optimize your titles and caption. Since most brands use video to run brand promotion goals, it’s important to work in relevant keywords into your ad copy. Facebook’s targeting algorithms will look for these to determine what users would be best to show your video ad to. You also want to make sure your call-to-action is clearly understood.
Case Study
Building an ad is an entirely different discussion, but this is what we are seeing with video ads. One of our client’s recently ran a video ad for one of their Tasting Room experiences. The ad itself saw over 3,000 video views and over 300 link clicks to their website. As Ron mentioned previously, viewers retain 95% of a message when they watch a video compared to 10% when reading a text. They were able to successfully translate a 3-dimensional/5-sensory experience into a 2-dimensional digital realm, ultimately driving tasting room sales and traffic.
YouTube
As you contine to create videos, it’s important to build an organic and vibrant YouTube channel that allows consumers to experience your brand beyond advertising. Organize your YouTube channel with sections, or playlists, such as recipes, wine tasting notes, winemaking, and events. Update this content regularly with useful information about your business and appealing imagery. And, most importantly, create a consistent experience across all your digital channels. For example, is your YouTube channel icon on your website?
To upload a YouTube video, click on the “Add video” symbol in the top right corner of your YouTube page. Click upload video and follow the prompts on the screen. Before uploading your video to YouTube, it is important to optimize your file name. YouTube doesn’t watch your video, so adding keywords to your file name allows YouTube to show your video to people who are looking for it. The same thing applies when you are adding a compelling title to your video, writing your video description, and adding tags. Think SEO!
Creating a compelling and organic YouTube channel is important if you’re looking to use YouTube for paid video advertising. If you are already using or considering Google Ads, YouTube advertising is a no brainer, since they are run through the same dashboard.

The next platform you’ll start adding video elements into is email and I have to say this may be the most important one. It’s definitely our team’s favorite tool because it really livens up your email designs as well as the content. There are two ways to start using video here, and the email platform we use is Mailchimp. If you use a different platform, no worries, it’s probably not going to be too different from Mailchimp’s so this will still be helpful.
So the first way is through YouTube or Vimeo, if you prefer Vimeo. This method is best for longer videos and specifically videos that have music, speaking parts, just Anything with audio. So vineyard walks, harvest party recaps, interviews with your winemaker, winery tours, etc. The only downside to this method is you can’t watch the video within the email, it’ll take you to a new window to watch it on YouTube.
Then the second method is with Gifs. Our whole team at Astra loves gifs. Since gifs are just a few seconds and don’t have any sound, these are really best for adding to the design of your email, like I said earlier if your email is pretty simple or basic and you just need something to kick it up a notch, a gif is perfect for that.
We’ll start with Youtube

You’re in Mailchimp designing this email. You’ll just go to the right and drag the Video content block over into your template. And the empty video block will look like this on the left side.

Click on the empty block, and in the bar at the top right paste the link to your YouTube video. And Mailchimp and YouTube talk to each other to auto-populate this little preview image you see. If for some reason you don’t like the image it populates, you can upload your own. But the one it gives you will probably work fine.
That’s literally it. That’s how easy it is to connect the two.
We see a lot of wineries that have pretty hefty YouTube channels with good content just sitting in there, but they don’t include it like this in their emails. And if they do it’s like a “click the link to view” sort of thing. They don’t drop in the actual video preview, and it makes a huge difference.
It’s also really important just with general email strategy to switch between promotional emails and content emails. We tell our clients from the start, nobody wants to get only sales emails from you all month. Your customers and members aren’t just piggy banks they’re here to get to know you and feel a part of your community, too. So doing a content email once a month with a featured blog and a video will go a long way.
Next is Gifs
The gif method is super easy, which tends to surprise people. You do not have to create a gif from scratch in photoshop. The secret weapon here is EZgif.com. It sounds like a made up website but its great, basically does all the work for you, and it will become your new best friend.
So let’s say you have a video clip you love and you really want to turn into a gif for some cool content in an email. Go to EZgif.com and click on the “Video to Gif” tab in the top menu. Then click Choose file and upload video, then EZgif spits your video out as a gif down here where it says “Output”. That’s it. And if you need to edit it like maybe slow it down or speed it up, crop it, etc. you can do all of that within EZgif too. But then just download it from here to your computer.
Head back to your Mailchimp account where you’re building your email. This time, you’ll drag the Image content block over into the template, then upload your gif as if it were a photo, and it’s good to go. And you can link this gif like an image. So if it’s, for example, a gif of a wine being poured, link it to your wine’s shopping page.
And here is a nice example from Lula Cellars. You’ve got an email in mobile view introducing their winery dog Kepler and the gif has him just doing his thang in the vineyard. You can tell how much more engaging the email becomes with a gif in there.So super easy and quick, but makes your emails look sophisticated and fun at the same time.

Wrapping it all up

To wrap it all up, this is what it looks like having your video on all your marketing channels. You’ve got emails, Instagram stories, Facebook and Instagram posts, Facebook ads, YouTube, and a website Lightbox. Imagine doing this with one single product or one single campaign like a Labor Day Sale. You’re hitting it from all angles, all styles, all kinds of customers and potential-customers, and all it takes is a little time and thought.
We know this seems like a lot of information, especially if you’ve never played around with video, but as with most things, once you get in the groove, it truly becomes second nature. For more visuals and examples that we talked about in the live webinar, watch our recorded presentation here.


